
DIY LiFePO4 Power Station
A 50 Ah LiFePO4 battery in a Powerwerx MEGAbox, with a 400-watt inverter and solar charging. I built it in 2020 and upgraded it in 2026 to power a Starlink Mini.
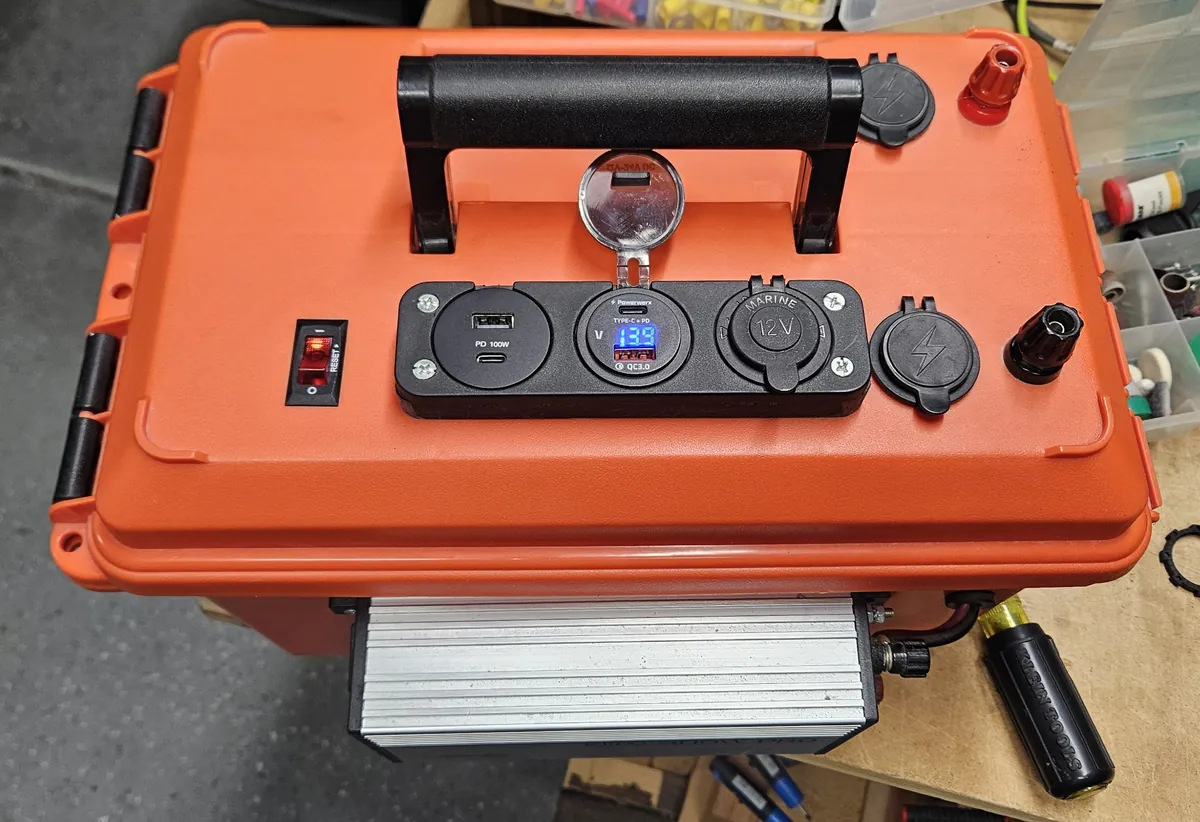
I wanted one of those 12-volt power stations for a long time: something to charge USB devices from, plug 12-volt gear into, and even run a few small 120-volt devices. Instead of buying one, I built my own around a Renogy 50 Ah LiFePO4 battery and a Powerwerx MEGAbox, an orange power box that already has the outlets, fusing and a work light built into the lid. A pure sine wave inverter on the side adds 120-volt power, and a folding solar panel keeps it charged in the field.
Six years later it's still in use. In 2026 I upgraded its USB-C port so it can power a Starlink Mini satellite internet dish with a single USB-C cable.
The original build
I made a video of the whole build on my YouTube channel, Random Gene, from unpacking the parts to a real-world test with everything plugged in.
I went with the MEGAbox because, for the price, it was cheaper than buying and wiring all the outlets myself. The Powerpole outputs and the binding posts connect straight to the battery through a 40-amp fuse, and the USB ports and 12-volt socket run through a lighted 15-amp circuit-breaker switch. A built-in LED work light has several steady and flashing modes.
- Making the battery fit. The MEGAbox was designed for a different brand of battery. The Renogy was too tall, so the lid wouldn't close over the connectors. A spacer under the lid's panel raised it enough to clear.
- Mounting the inverter. The Wagan Elite 400W Pro pure sine wave inverter is screwed to the side of the box. Its fused battery cable runs into the box through a grommet. With a 50 Ah battery I keep the load to about 300 watts.
- Two battery leads. One pre-made cable feeds the inverter and the other feeds the MEGAbox's outlets, which already have their own fuse. Foam spacers keep the battery from shifting, and there's still room in the box to store the charger.
- Charging. A CTEK Lithium US smart charger (4.3 amps, with an 8-step LiFePO4 charging program) tops the battery up from 120 volts. I put Powerpoles on its leads so it plugs into one of the Powerpole outputs, with no need to open the box.
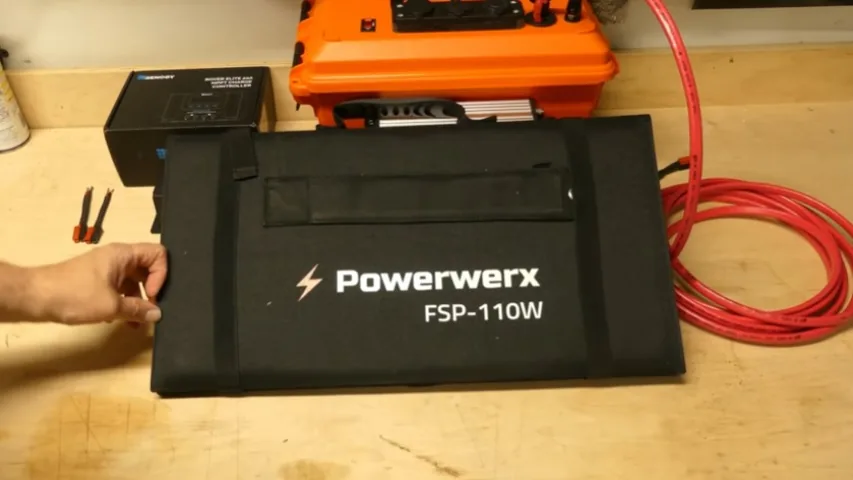
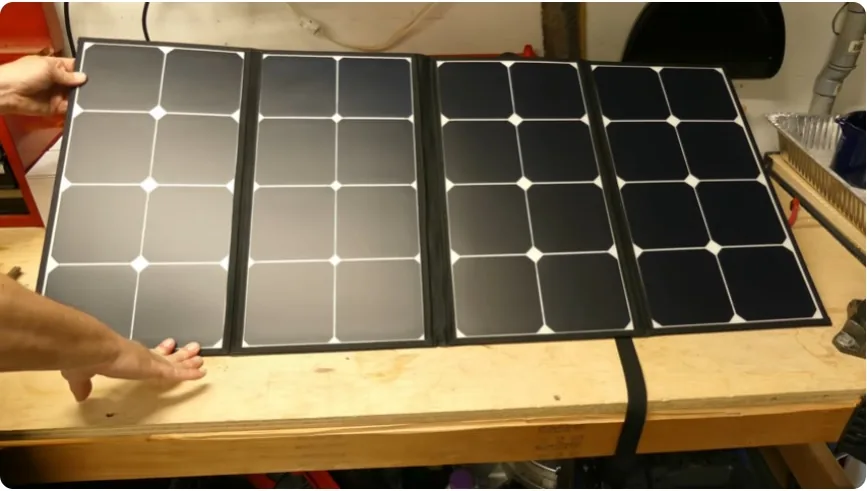
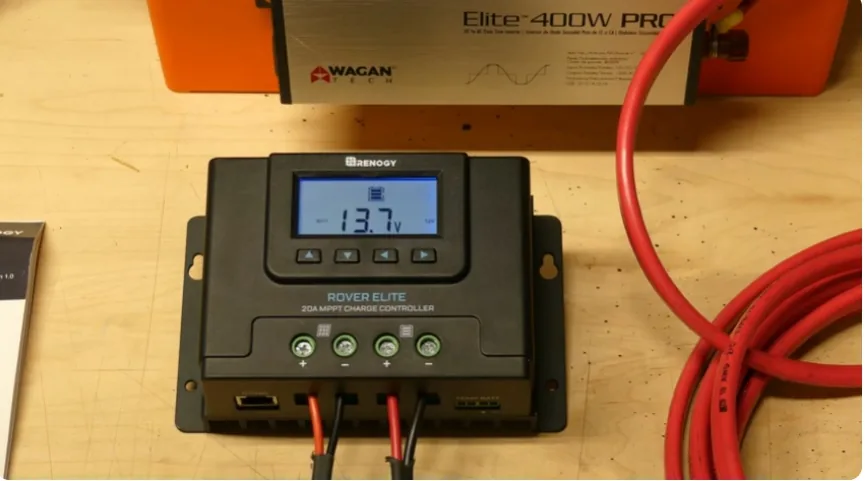
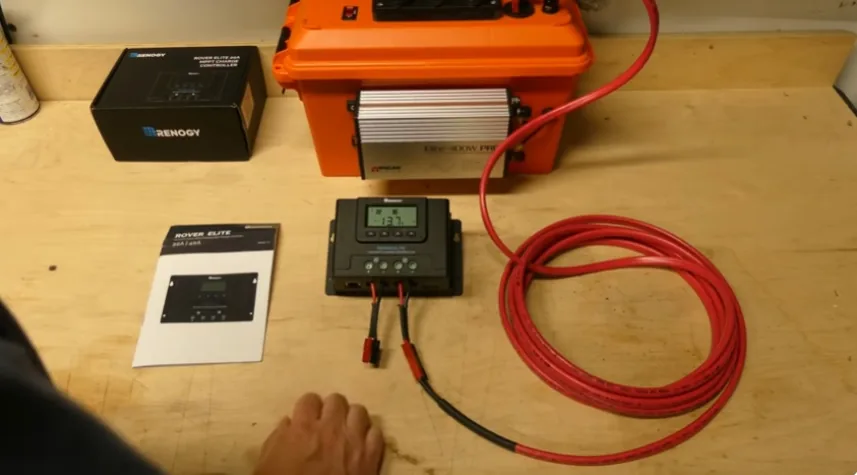
- Solar. A Renogy Rover Elite 20-amp MPPT charge controller and a Powerwerx 110-watt folding panel also charge the battery through a Powerpole. I replaced the panel's MC4 connectors with Powerpoles to keep everything on one connector, and made the old MC4 plugs into an adapter. The controller and cables live in a separate small ammo box, so I can use them with other gear too.
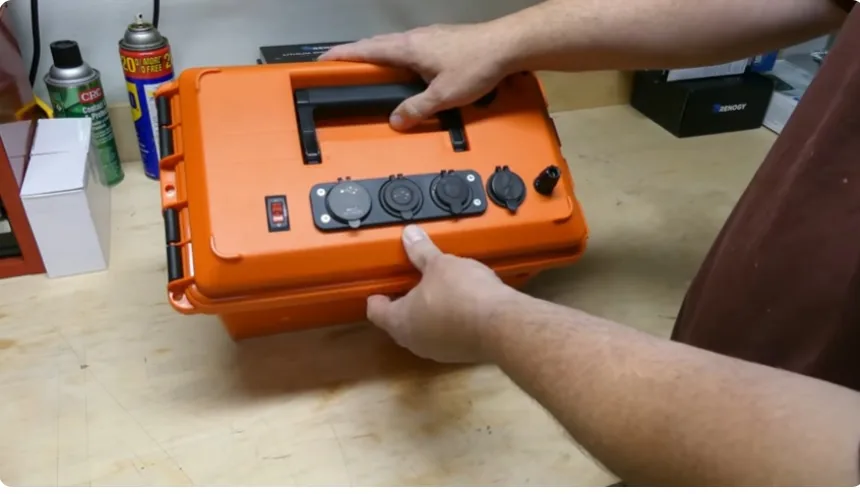
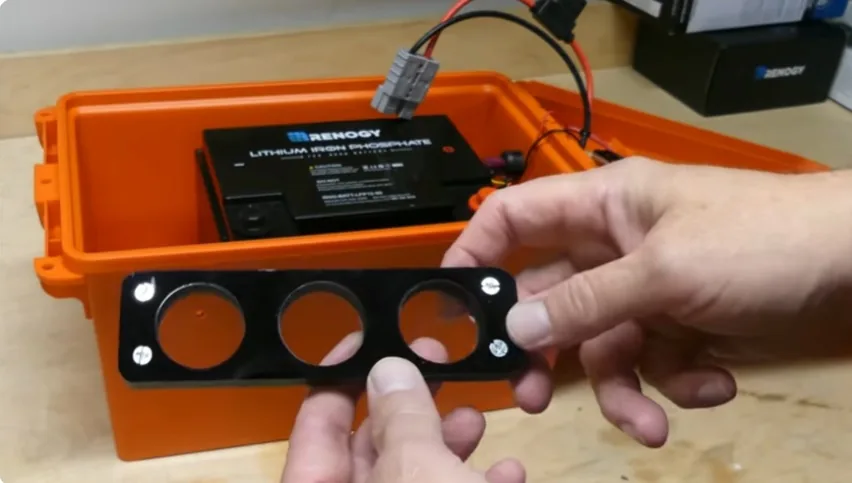
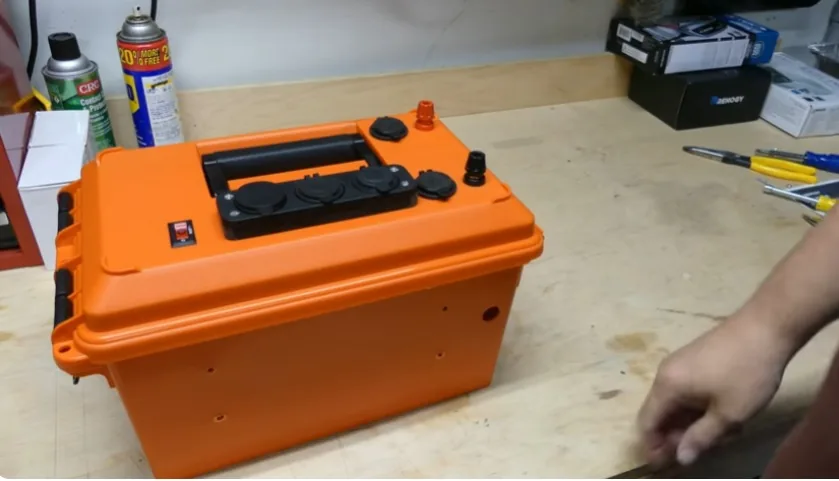
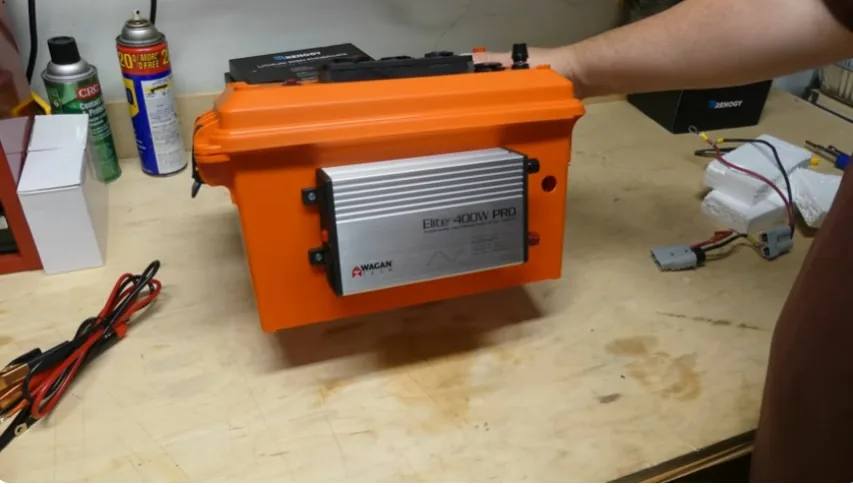
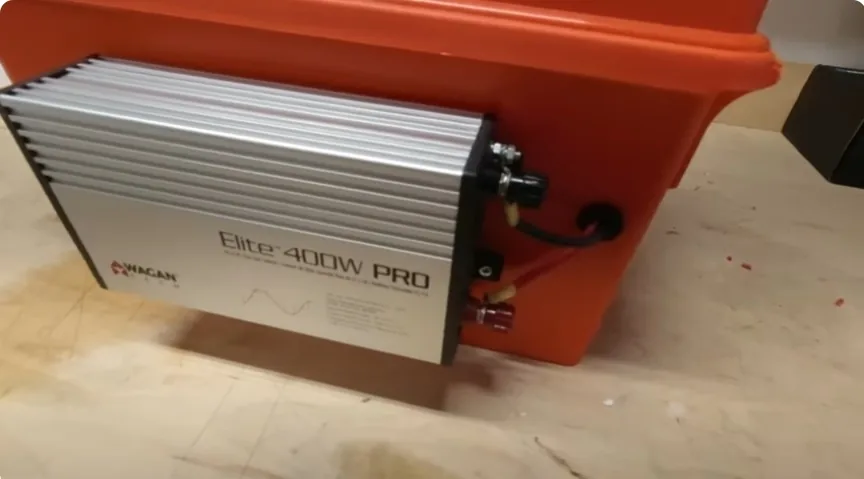
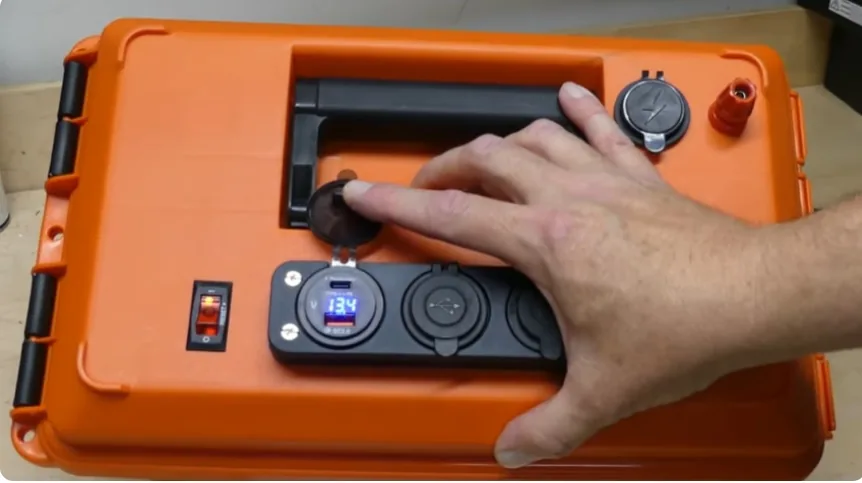
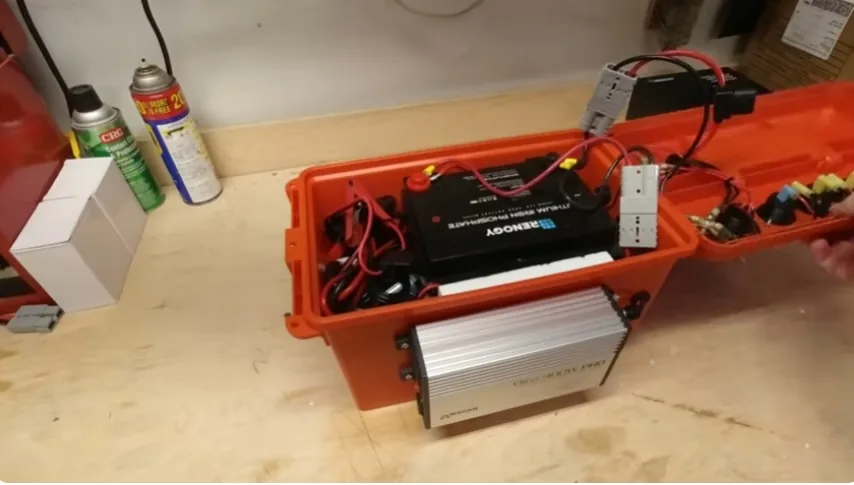
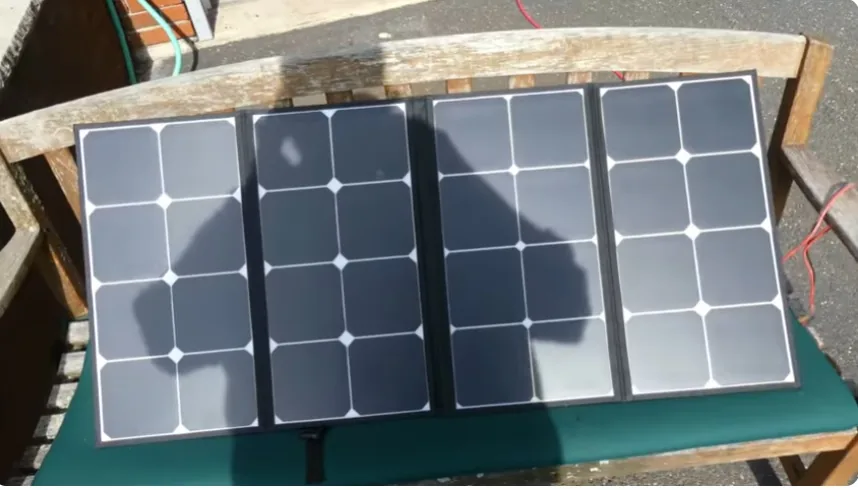
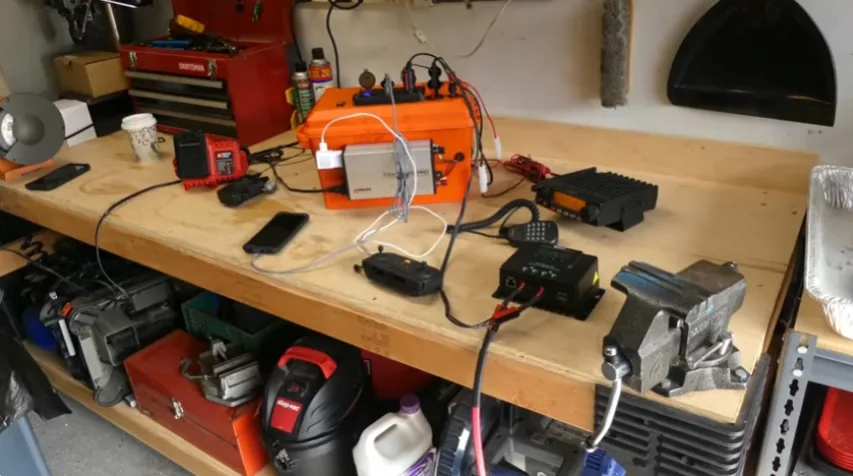
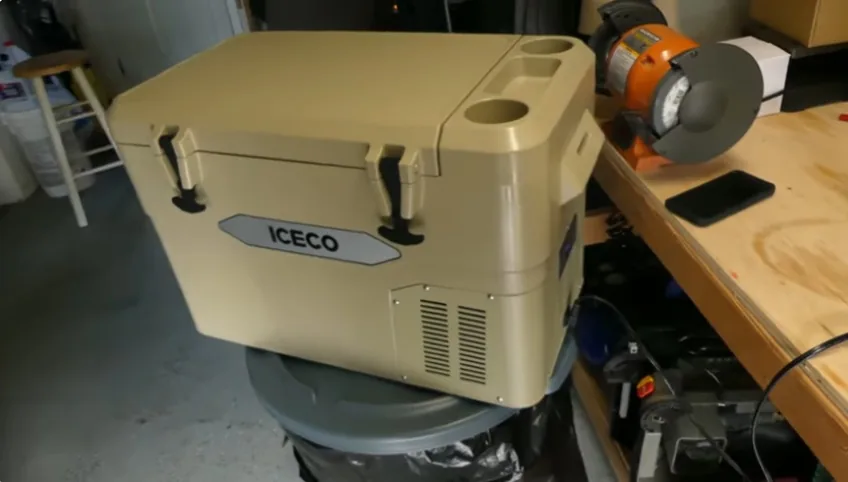
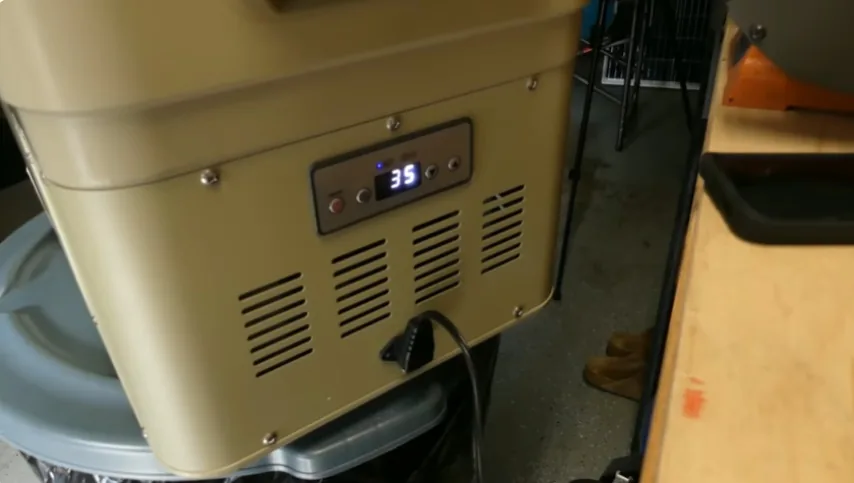
For the real-world test, it ran all of this at once while the solar panel charged the battery: a 12-volt ICECO refrigerator holding 35°F, a 2-meter mobile radio and a handheld radio, a cordless drill battery charger and a drone controller on the inverter, and my phone on USB.
The upgrade: powering a Starlink Mini
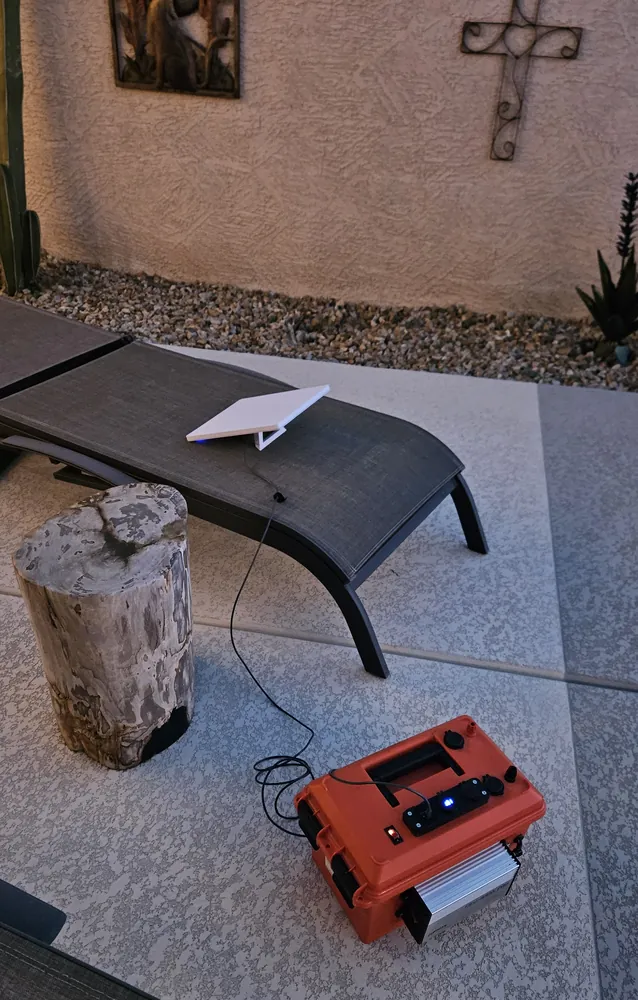
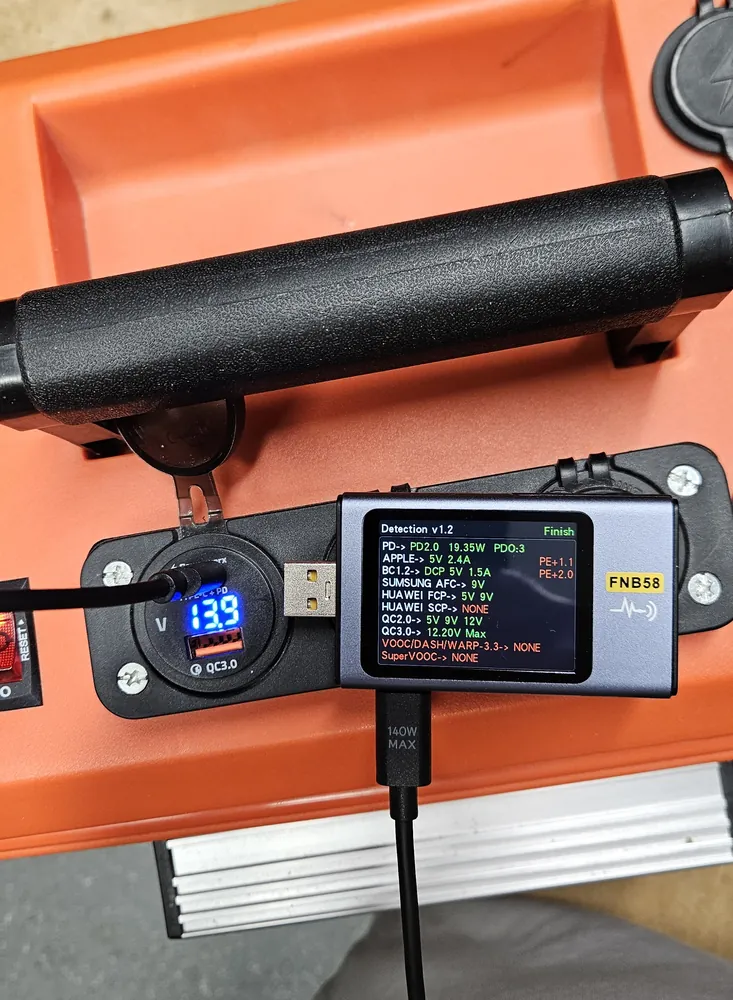
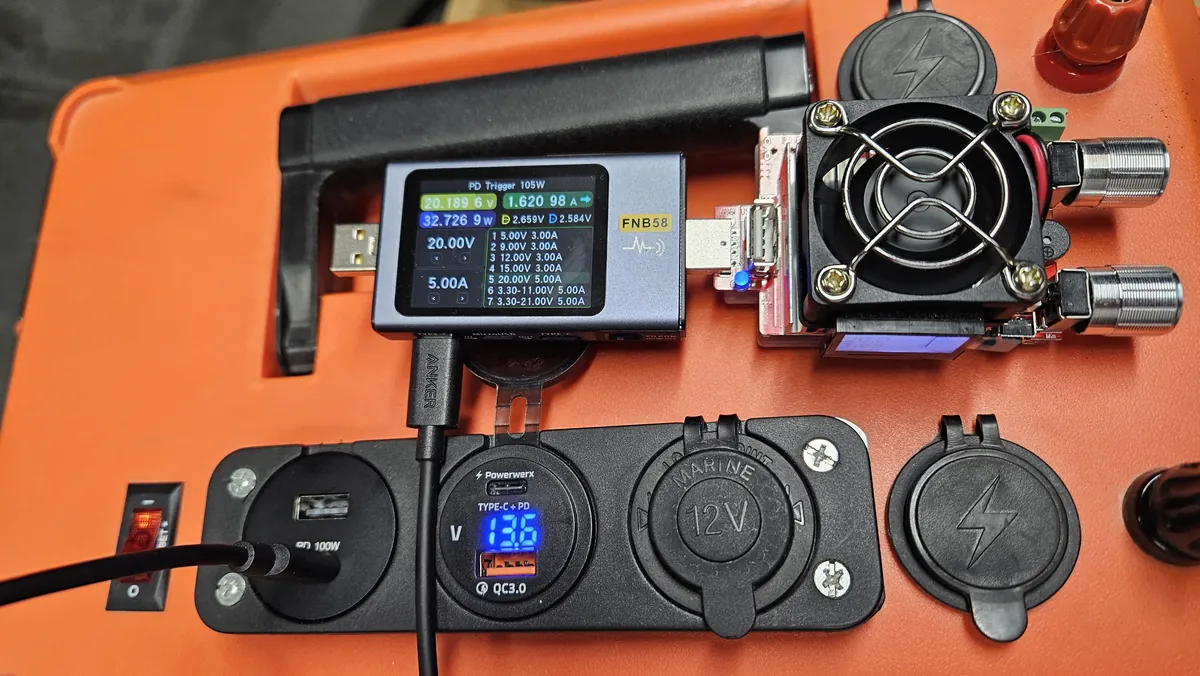
The Starlink Mini runs on anything from 12 to 48 volts and uses 20 to 40 watts, sometimes up to 60 watts when it starts up. None of the power station's USB ports could supply that. The original USB-C port only goes up to 12 volts at 1.5 amps, which I confirmed with a USB tester and from its specifications.
The 12-volt socket and the Powerpoles could run it, but at 12 volts the Starlink draws at least 5 amps, so any long cable run would need heavy 14-gauge wire. A USB-C port that supplies 20 volts moves the same power at a much lower current, over a regular USB-C cable.
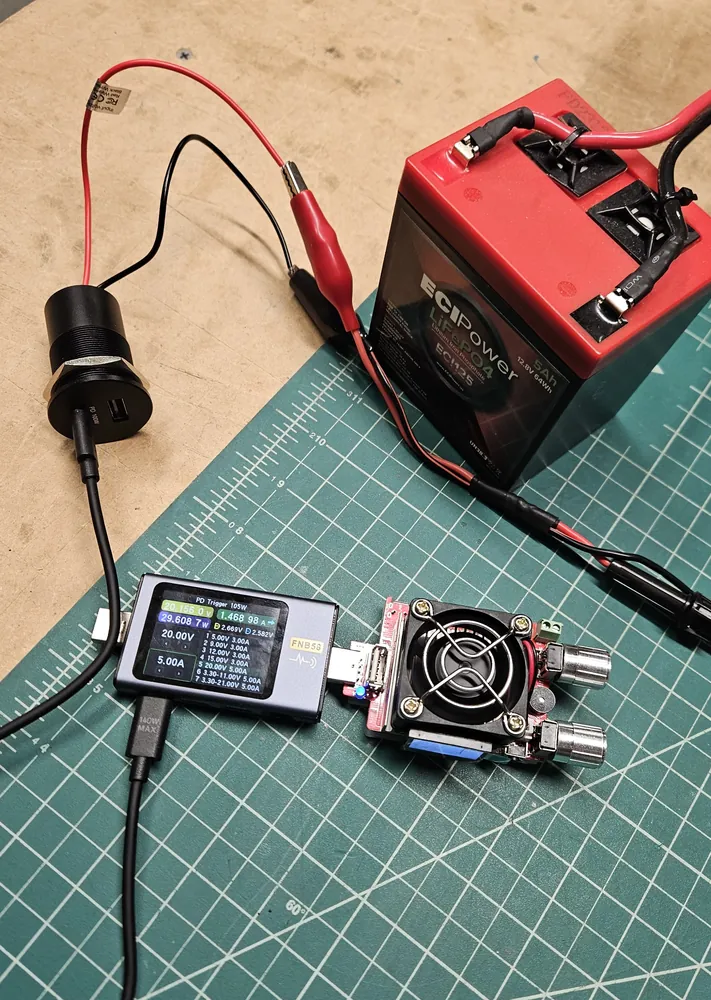
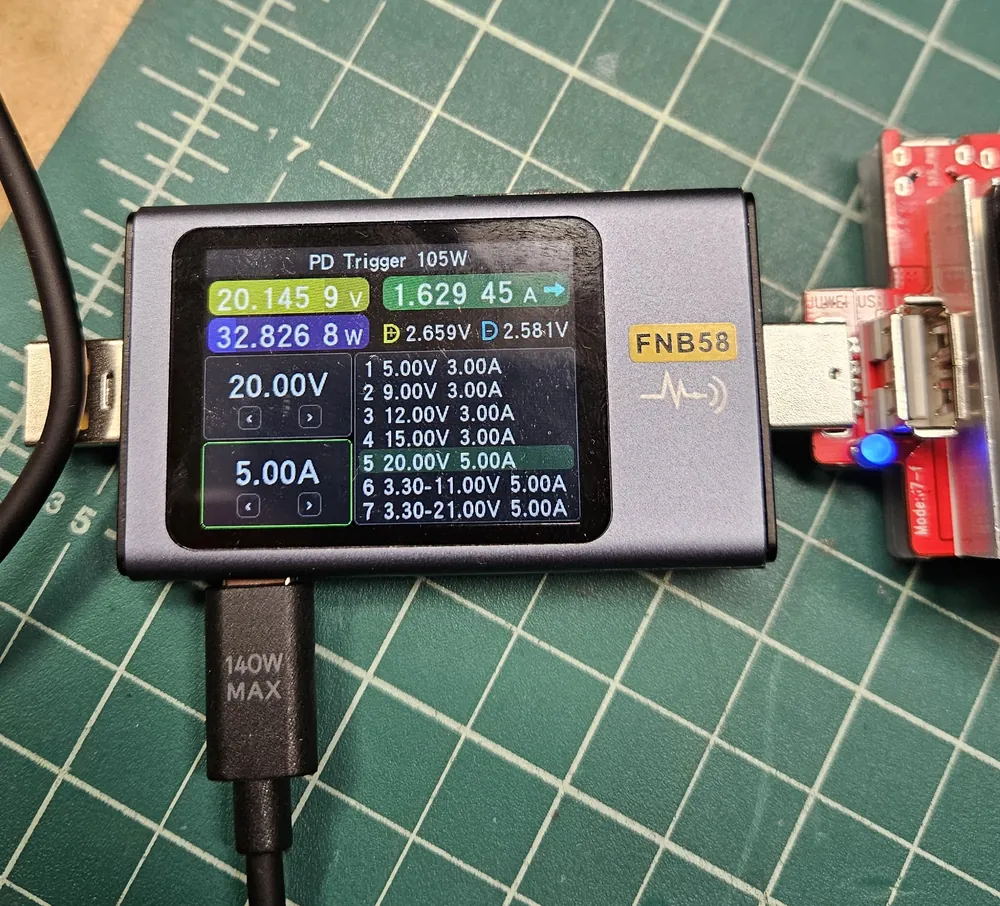
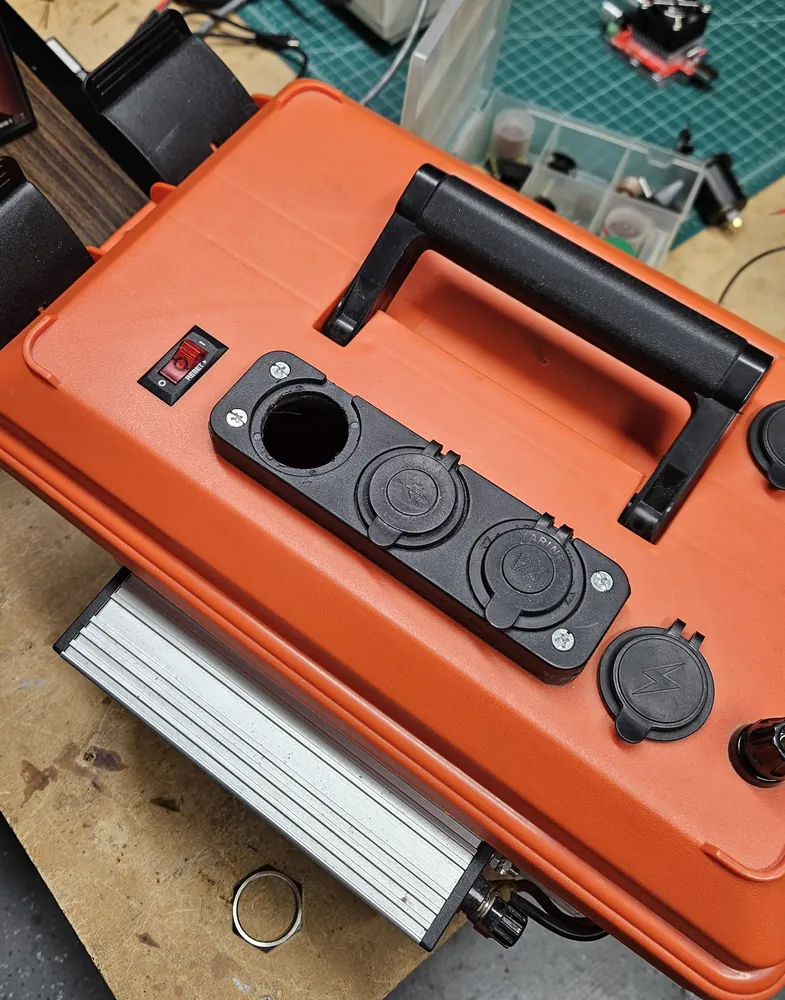
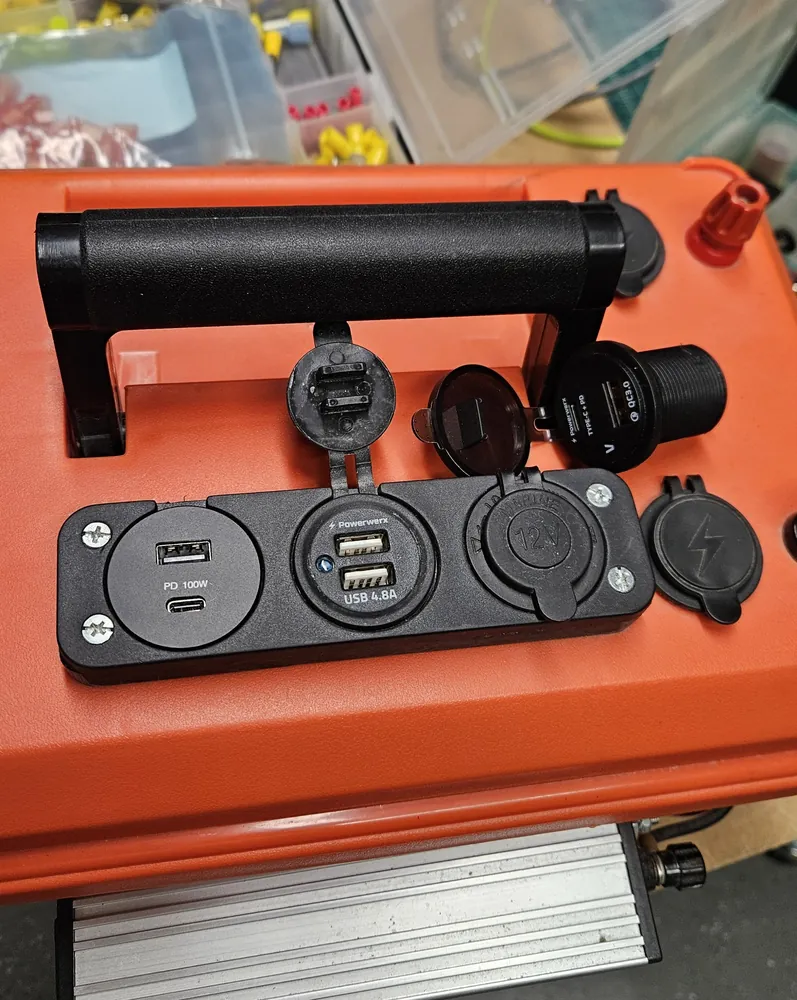
- A new 100-watt port. I replaced the old USB-C port with a 12-volt panel-mount outlet that has a 100-watt USB-C Power Delivery port (up to 20 volts at 5 amps) and an 18-watt Quick Charge 3.0 USB-A port.
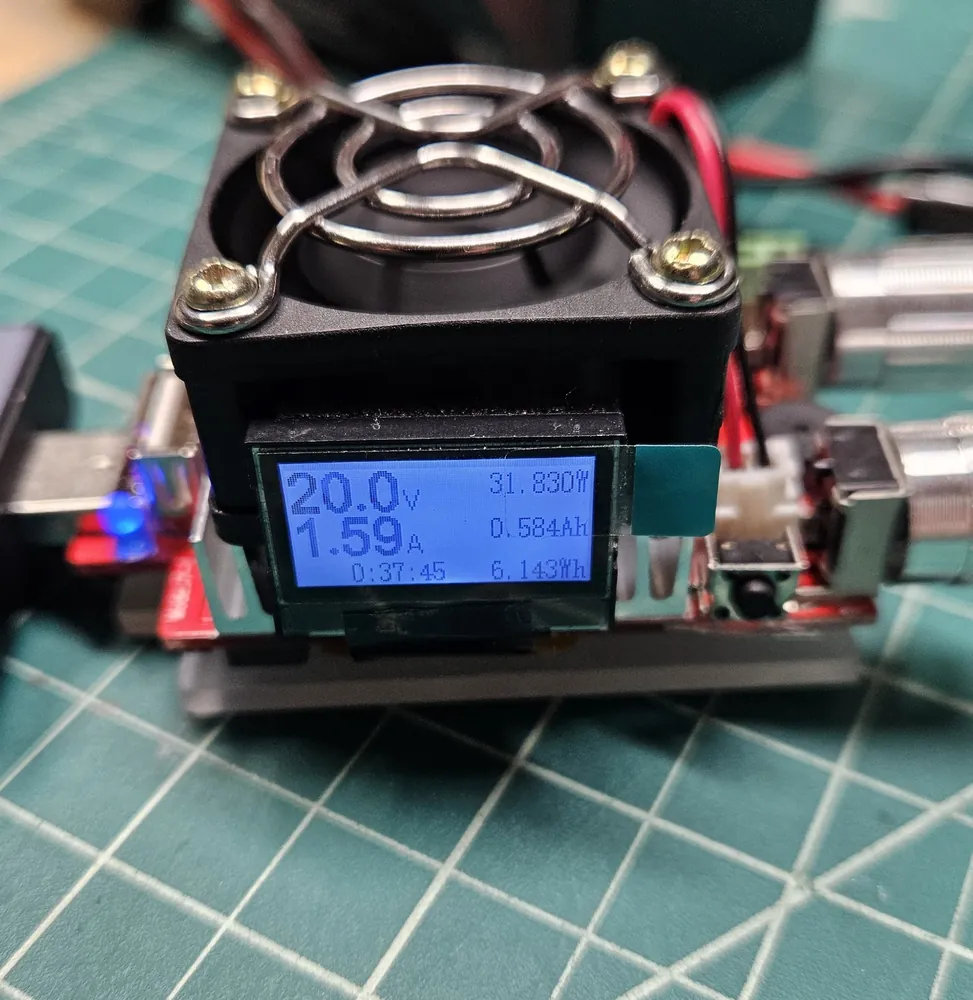
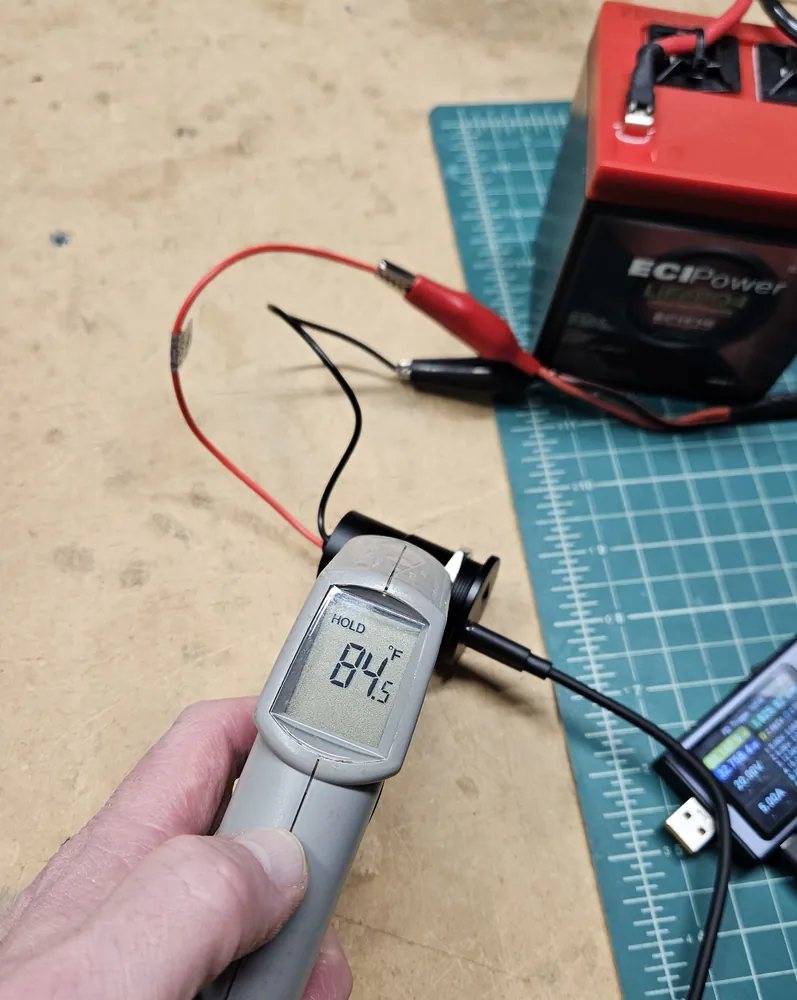
- Bench testing first. On the bench, the USB tester asked it for 20 volts and a load bank drew about 32 watts, the Starlink's normal range. It held 20 volts, and after running for a while it was only 84.5°F.
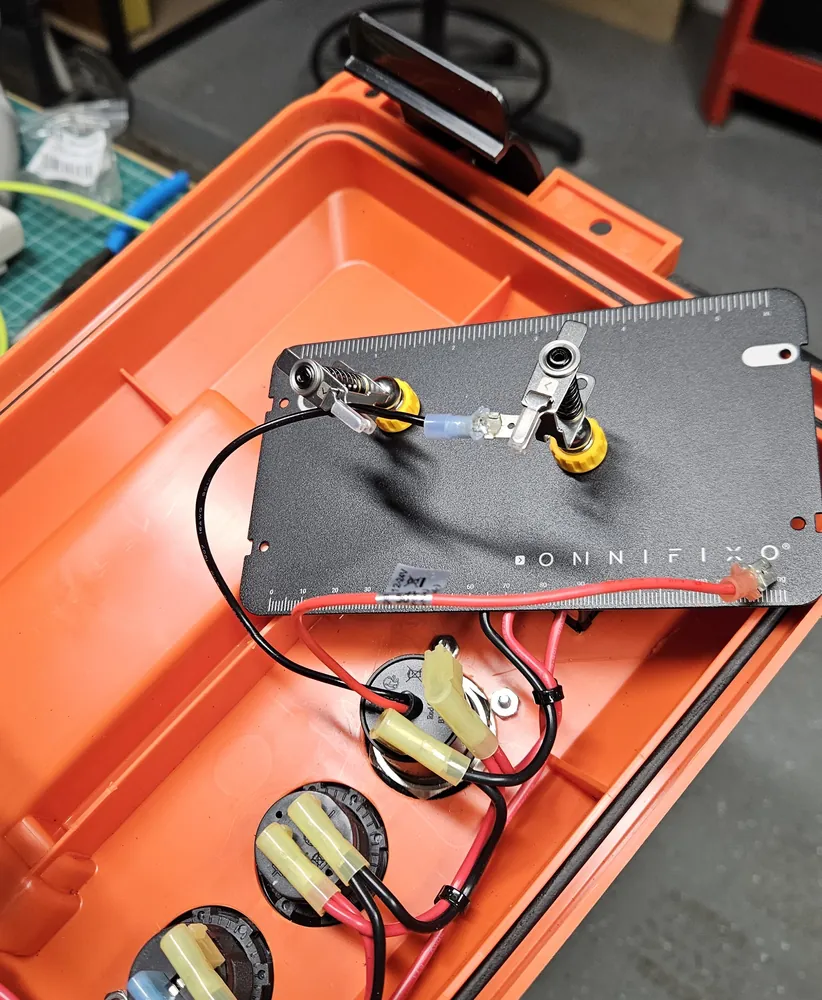
- Installing it. I removed the old port and crimped and soldered spade connectors onto the new one's leads.
- Keeping the voltmeter. I liked being able to read the battery voltage on the old USB-C port, so I moved it into the spot where the dual USB port was.
Parts
- Powerwerx MEGAbox portable power box (since replaced by the MEGAbox2)
- Renogy 12 V 50 Ah LiFePO4 battery
- Wagan Elite 400W Pro (EL2610) pure sine wave inverter, mounted on the side of the box
- CTEK Lithium US (56-926) LiFePO4 charger, 4.3 amps, with Powerpole leads
- Renogy Rover Elite 20 A MPPT solar charge controller
- Powerwerx 110-watt folding solar panel, with Powerpole connectors
- 2026 upgrade: 12 V panel-mount USB outlet with 100 W USB-C PD and 18 W QC3.0 USB-A